Sandal season is coming! There’s nothing quite like the feeling of freshly pampered feet, but frequent salon visits can be pricey. Why not bring the spa to your home? With a few products, tools, and know-hows, you can achieve soft, hydrated feet naturally. Lucky for you, we’re an expert for at-home, DIY beauty. Here’s how to do your at-home pedicure in 4 easy steps.
You’ll Need:
-
Foot bath or basin with warm water
-
Foot Soak, salts, or additives
-
Exfoliating Body Scrub
-
Pumice Stone
-
Nail Clippers, File, Cuticle Tool
-
Foot Cream with Urea
-
Nail Polish
Step 1: Soak & Relax
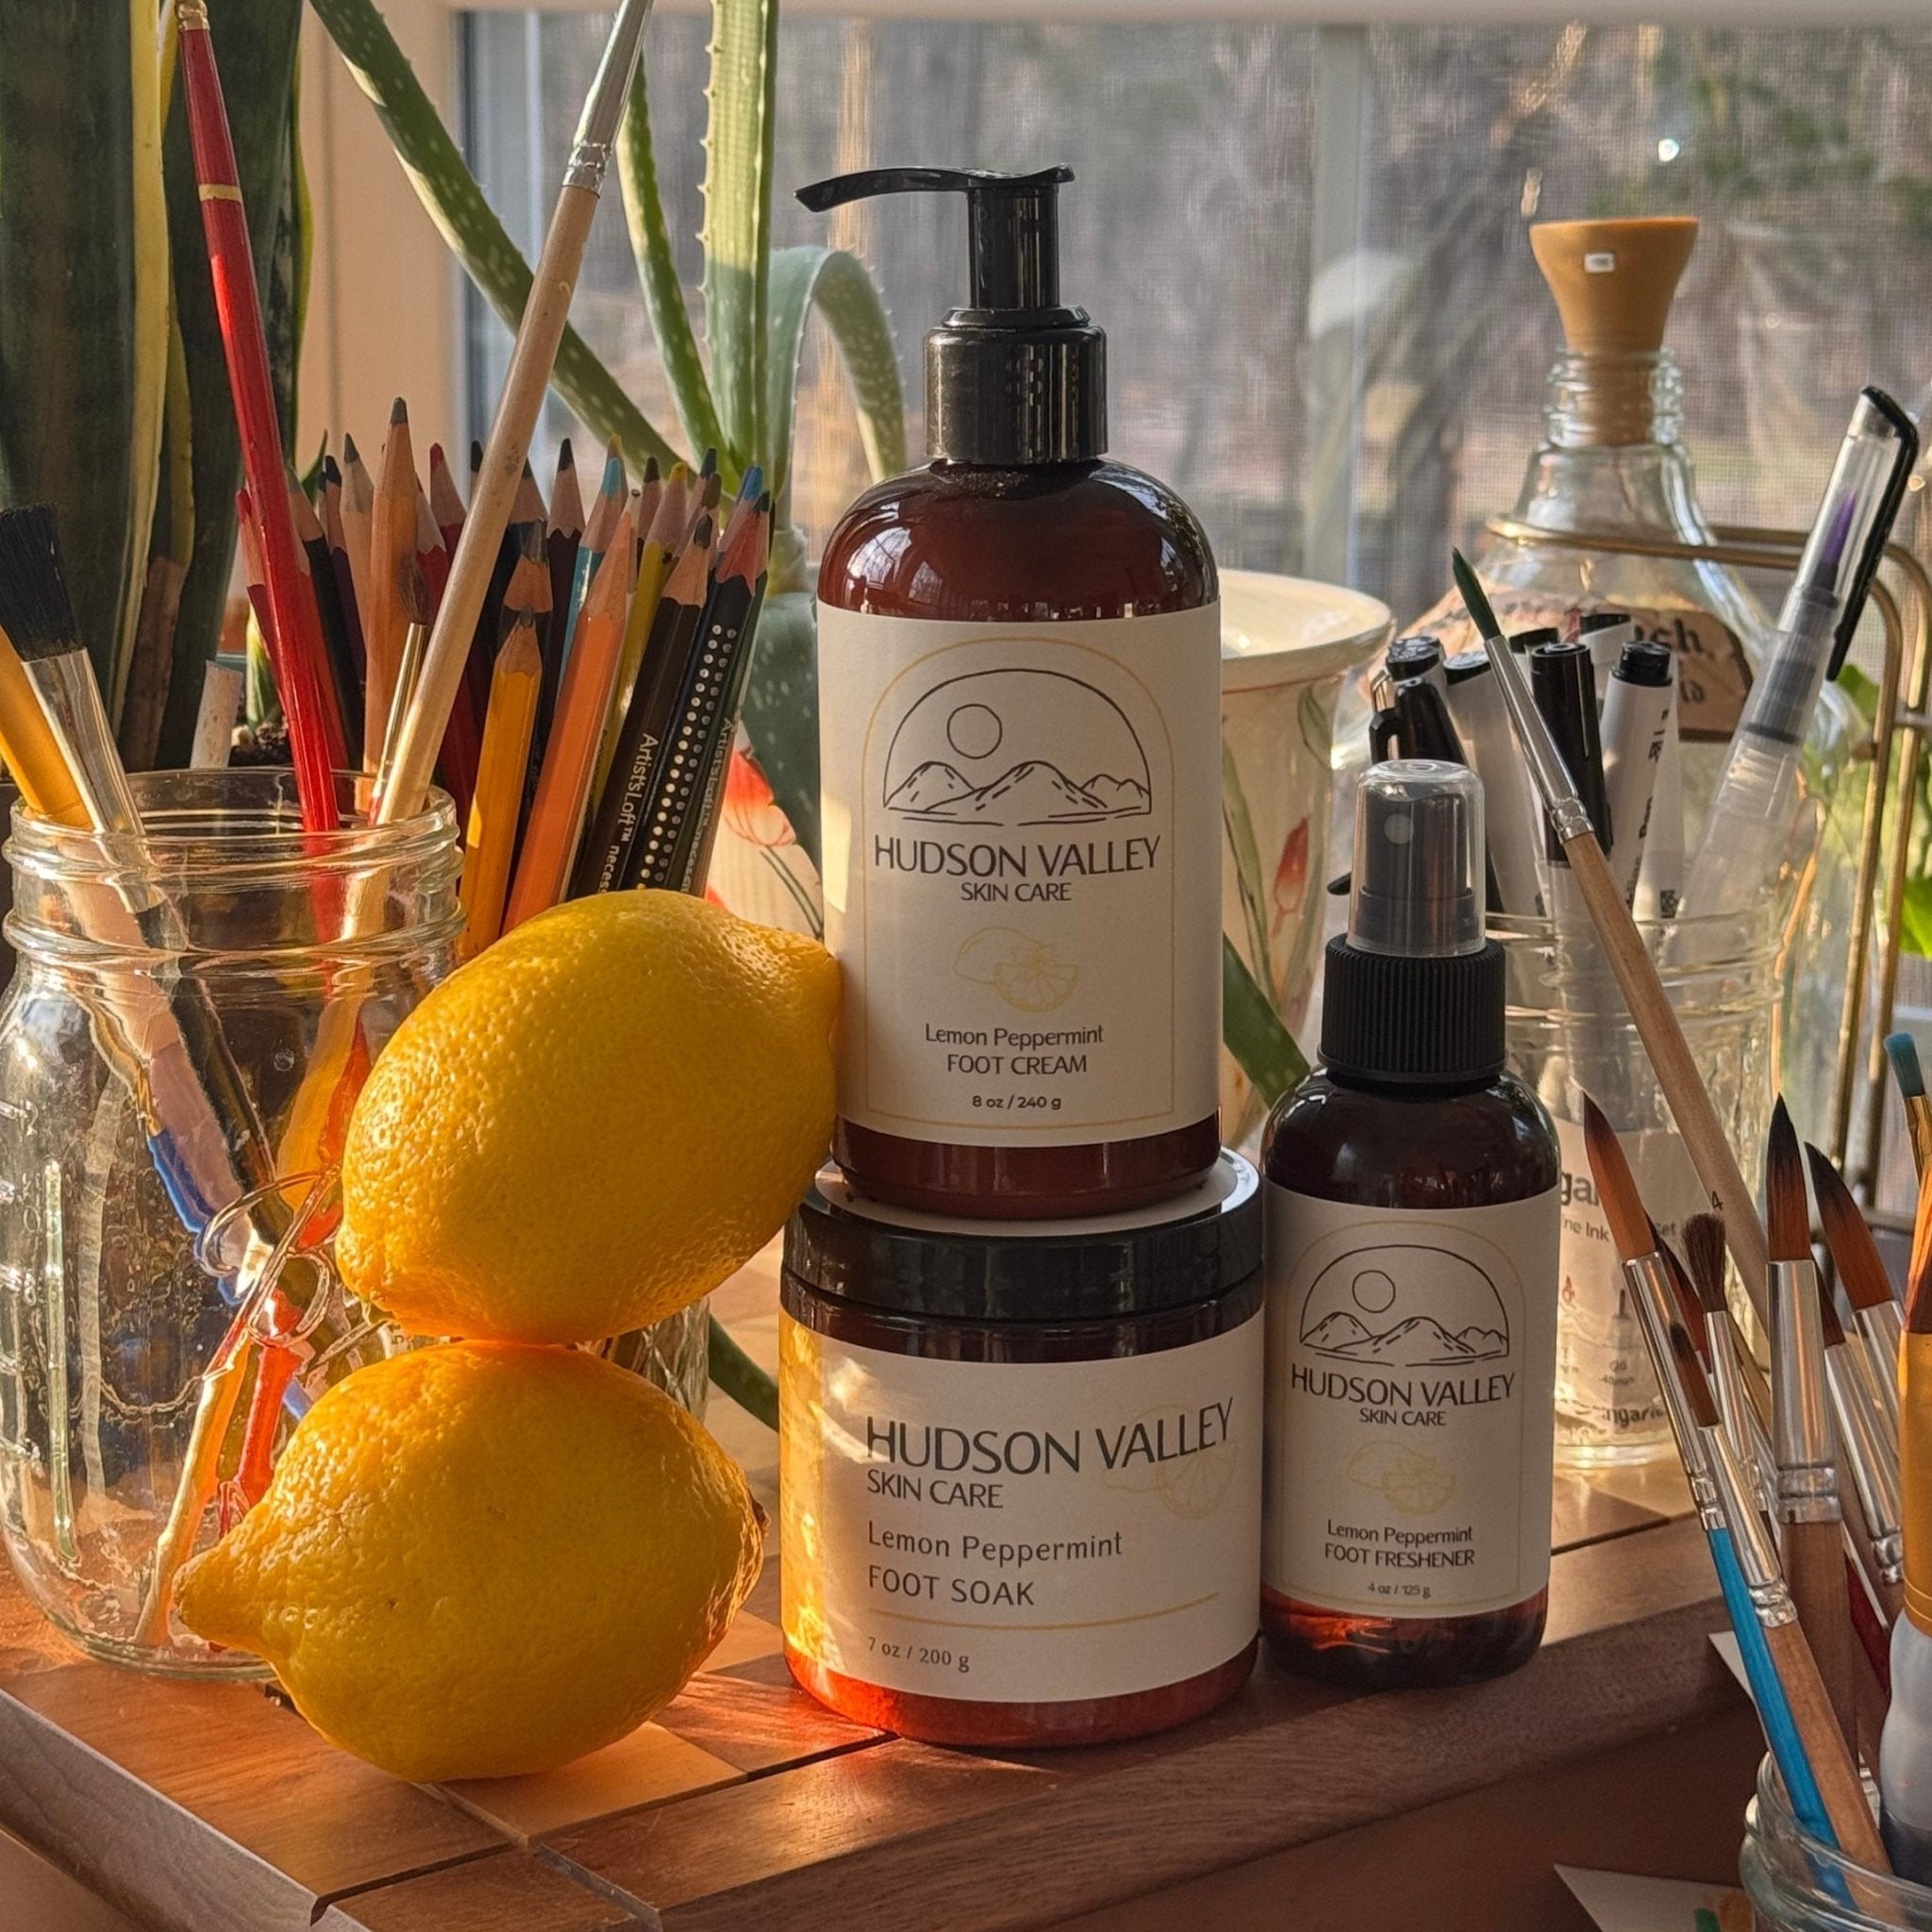
Use a foot bath if you have one, or simply fill a basin with warm water. You can customize your experience and use different additives depending on your needs. Some people opt for vinegar or lemon juice, some people use epsom salts. We choose the best of both worlds, adding a few tablespoons of our Lemon Peppermint Foot Soak. This blend of Epsom and Dead Sea Salt contains the cooling peppermint to help relieve tired, achy feet, while lemon naturally refreshes and deodorizes.
Soak for 10-15 minutes and take this time to unwind—maybe with a cup of tea or your favorite playlist.
💡 Pro tip: If you’ve been on your feet all day, this soak is a game-changer for soothing soreness and softening rough skin.
Step 2: Exfoliate for Baby-Soft Feet
After soaking, it’s time to buff away dry, rough skin. We believe in a two-step process. First, go in with a good gritty scrub. This not only feels amazing, but helps reveal softer skin and gets in the areas that a pumice stone may be too harsh for. Our Exfoliating Body Scrub is perfect for your feet and calves, sloughing off dead skin while leaving behind a nourishing blend of oils. After scrubbing, go in with a foot file or pumice stone on your heels and any tough areas, then rinse clean.
Step 3: Hydrate & Protect
Now that your feet are soft and smooth, it’s time to lock in moisture with a foot mask or rich foot cream that nourishes and repairs dry, cracked skin. Look for ingredients like Urea which work to smooth and repair even the driest heels. We recommend our Lemon Peppermint Foot Cream with Urea and Shea Butter for softening calluses and rough patches. If doing this at night, apply a thick layer and wear socks overnight for deep hydration.
Step 4: Choose Clean Nail Polish
Before applying polish, trim and file your nails, push back cuticles gently (never cut them!), and swipe nails with polish remover to remove any oils. Traditional nail polishes can contain harmful chemicals like formaldehyde and toluene. Instead, we always try to go for a clean, non-toxic nail polish that’s free from harsh ingredients. Some great brands to check out are Zoya and Olive & June. Finish off with a quick-drying top coat for a long-lasting, glossy look. Once your polish is dry, apply a final layer of Foot Cream to keep everything hydrated and healthy.
Pro-tip: For an instant pick-me-up, refresh your feet with a cooling mist! Our Lemon Peppermint Foot Spray provides an instant cooling effect, making it perfect for hot days or after long hours on your feet. Keep it in your bag for an on-the-go refresh!
Why DIY? The Benefits of an At-Home Pedicure
💰 Save money – No expensive salon visits!
🌱 Better ingredients – Avoid harmful chemicals found in many nail salons.
💆 Self-care moment – Relax and pamper yourself at home.
🌎 Eco-friendly – Reduce waste and support clean beauty.
So, next time your feet need some love, skip the salon and give yourself a natural, clean-beauty pedicure from the comfort of home. Your feet (and your wallet) will thank you!